In order to create Smart Car Parking System using arduino and sensor which are IR sensors, Servo Motor and ultrasonic sensor you would normally have a system that would automatically sense whenever a car is in the parking slots and shift a barrier or g as the servo motor would shift it. The ultrasonic sensor is so much useful in the sense that it will be useful in measuring the distance to the ensuring the parking slot in focus is well parked and in return the IR sensor can be used in extra working parameters for example sensing when the car has arrived or to create a proper order in the flow of the car at the parking lots.

This guide will show in detail of how such a system can be implemented:
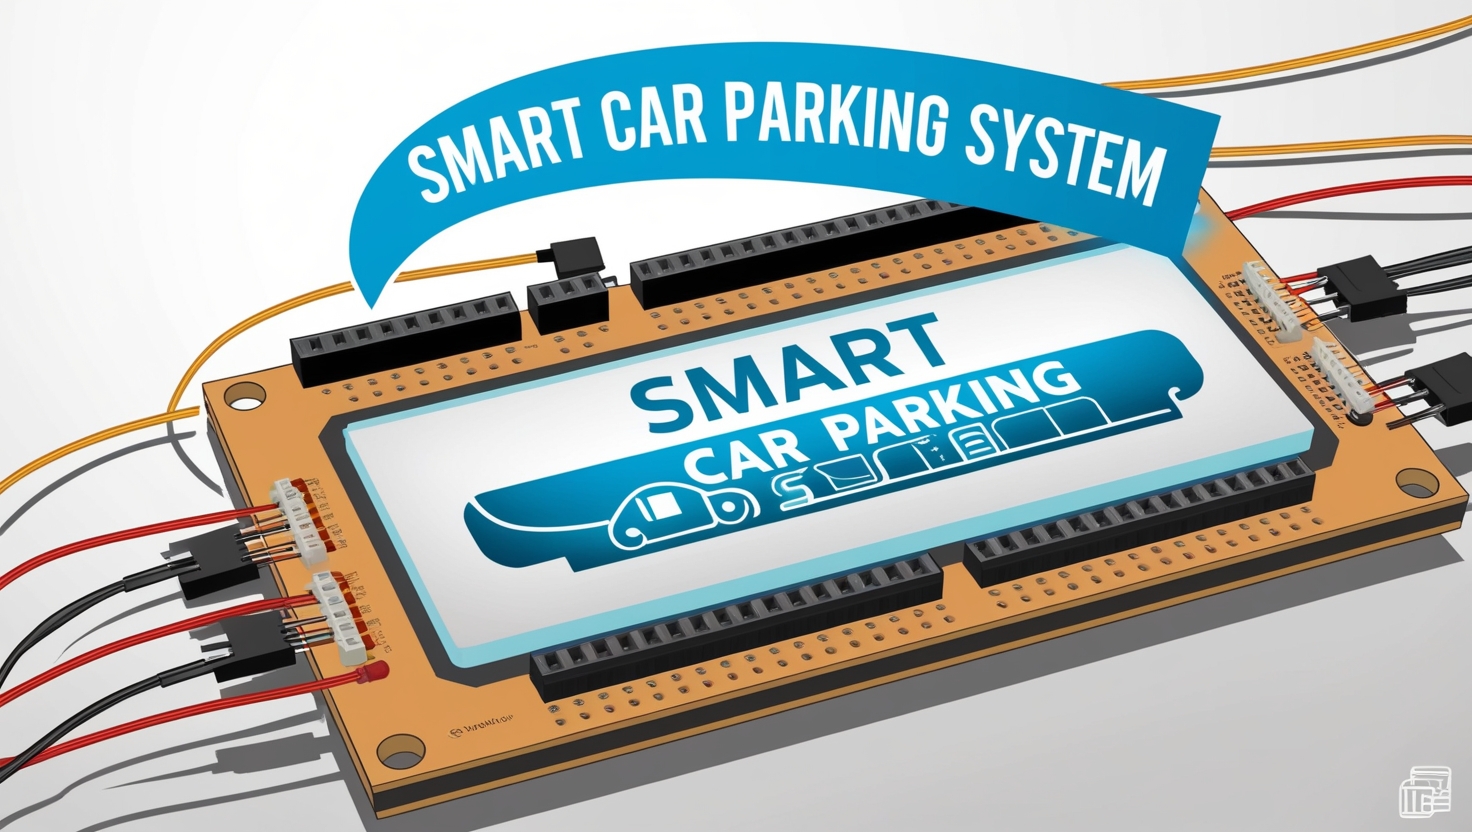
Components Required:
- Arduino Uno (Or any other compatible board)
- IR sensors (For car sensing at the garage door)
- Ultrasonic sensor (To measure the distance that will help in detecting the area occupied by a vehicle in a parking space)
- Servo motor (Responsible for the movement of the gate or building barrier)
- Jumper wires
- Breadboard
- DC 12V supply for the power of the servo motor
- LED’s(Optional)
- A Car Detection IR Sensor:
In this sensor, you can find two GND and VCC pins. The power for this sensor will generally be supplied from the Arduino.
The signal pin (most likely the OUT pin) will be forward to the Arduino, either to an unused serial pin interface or direct digital port such as D2 for future use.
We can directly use one connecting cable, linking pin The OUT pin and subsequently the pin occupied by the Arduino.
- An Ultrasonic Sensor – Parking Detection in This case
The next electronic component that we will utilize is an ultrasonic sensor to construct measurement devices. An ultrasonic sensor (HC-SR04) will enable you to add the functionality to detect the status of the parking spot by checking to see if the spot is occupied or not, by distance measurement.
The positive pin of the ultrasonic sensor – Trig will be linked via a wire to the digital pin of Arduino D4 while the Echo pin will be connected to another digital pin D5, which will also operate one of the ultrasonic sensor functions.
These two VCC and GND wires will be linked to 5V and the Ground level on Arduino.
- Servo Motor – as a Rex Barrier
The parking barrier that will open and close automatically whenever a vehicle comes is the parking servo which is the final component of our mechanical control devices.
A connecting wire will be fixed to the signal pin of the servo and the other end to PWM pin of the Arduino to operate the device.
” In case they are required ( e.g., 12 V DC for the servo), the VCC and GND pins will be linked to a different power source.”
CODE:
#define TRIGGER_PIN 12
#define ECHO_PIN 13
#define LED_PIN 8
#define BUZZER_PIN 9
long duration;
int distance;
void setup() {
pinMode(TRIGGER_PIN, OUTPUT);
pinMode(ECHO_PIN, INPUT);
pinMode(LED_PIN, OUTPUT);
pinMode(BUZZER_PIN, OUTPUT);
Serial.begin(9600);
}
void loop() {
// Send a pulse to the ultrasonic sensor
digitalWrite(TRIGGER_PIN, LOW);
delayMicroseconds(2);
digitalWrite(TRIGGER_PIN, HIGH);
delayMicroseconds(10);
digitalWrite(TRIGGER_PIN, LOW);
// Measure the time taken for the pulse to return
duration = pulseIn(ECHO_PIN, HIGH);
// Calculate the distance (in cm)
distance = duration * 0.034 / 2;
// Display the distance
Serial.print(“Distance: “);
Serial.print(distance);
Serial.println(” cm”);
// If the distance is greater than 10 cm, the spot is available
if (distance > 10) {
digitalWrite(LED_PIN, HIGH); // Green LED for available space
digitalWrite(BUZZER_PIN, LOW); // No beep
} else {
digitalWrite(LED_PIN, LOW); // Red LED for occupied space
digitalWrite(BUZZER_PIN, HIGH); // Beep for occupied spot
}
delay(1000); // Wait for 1 second before next reading
}